D2PAK Thermal Design for 200 V, 30 A Rectification
The D2PAK’s 200 V, 30 A class is a thermal design first: the loss at the working temperature, the copper and via…
The D2PAK’s 200 V, 30 A class is a thermal design first: the loss at the working temperature, the copper and via path, and the case-temperature measurement decide the real capability. This guide covers the heat-flow route, the loss budget, the measurement, and the design review.
Last updated:
The D2PAK Thermal Path in Detail
The D2PAK’s heat path runs from the die through the exposed tab into the board copper, down through the vias into the inner planes, and out to the enclosure. Each interface adds resistance, and the datasheet’s 2.0 °C/W junction-to-case is usable only with the board providing the path. The thermal chain is the design’s contract, and the board is its heatsink.
Reading the Chain Layer by Layer.
The chain reads as a series of resistances: the die-to-case junction through the attach, the case-to-board interface through the solder, the board’s spread through the copper and the vias, and the board-to-enclosure path through the standoff and the airflow. The datasheet’s junction-to-case figure is the starting resistance, and each added layer—the interface material, the solder coverage, the via count, and the plane’s thickness—contributes its own term. The design’s job is to make the board terms small enough that the junction stays below the limit at the working current and ambient. The calculation is iterative because the forward drop and the leakage move with the temperature, so the first pass starts the loop and the measurement closes it.
Copper Area and Thermal Via Design
| Item | Value |
|---|---|
| Copper pad | Matched to the exposed tab, extended |
| Via grid | 1.0–1.2 mm pitch across the tab |
| Inner planes | Ground or power connection |
| Solder | Controlled by the stencil, voids inspected |
The copper and the vias are the D2PAK’s thermal design: the pad spreads the heat, the vias carry it into the planes, and the board thickness and layers complete the path.
Copper, Vias, and the Solder Interface.
The copper area under the tab spreads the heat laterally before the vias carry it down, and the via grid’s pitch and barrel wall set the vertical conduction. A typical starting design uses a pad that extends beyond the tab, a via grid on the order of 1.0–1.2 mm pitch inside the pad, and inner planes connected to the same net; the exact values are confirmed against the board stack and the assembly rules. The solder joint is the interface’s quality gate: voiding in the joint adds resistance at the point of maximum heat, and the inspection reads the void coverage with X-ray on the first builds. The copper, the vias, and the solder are one thermal system, and the review reads them together. The AMBRB30200CT is the 30 A, 200 V example, and its heat-flow route is the board’s responsibility.
Loss Budget at 200 V, 30 A Operation
The loss budget reads the working temperature: at 15 A per die with the 0.84 V typical drop, each die dissipates about 12.6 W as a first pass, and the 2.0 °C/W path turns that into about 25 °C of rise per die. The final budget uses the maximum VF at the operating temperature, adds the leakage at the working reverse voltage, and walks the full board path—the thermal design method owns the calculation, and the measurement closes it.
Case Temperature Measurement in Practice
The measurement is the design’s verdict: the thermocouple on the exposed pad or the nearest copper, the unit at the worst load and ambient, and the soak to the steady-state criterion. The measured case temperature, the calculated junction, and the margin to the limit are the record, and the measurement is repeated at the worst condition.
From Measured Case to Junction.
The measured case temperature is the anchor of the calculation: the junction is found from the case temperature plus the dissipation times the junction-to-case resistance, and the dissipation is re-read at the working temperature because the forward drop and the leakage both shift as the junction warms. The loop runs until the assumed temperature and the calculated temperature agree, or the build is measured again at the hot condition. The margin is the difference between the calculated junction and the datasheet limit, and it is recorded with the measurement conditions—ambient, load, airflow, and soak time—so the number is reproducible. The record is the thermal design’s evidence, and it is what a field return or a board revision reads first.
Design Review Checklist
- Loss: maximum VF at the operating temperature, leakage added.
- Chain: RθJC, interface, board, and enclosure.
- Board: copper, vias, and solder quality.
- Measurement: case temperature at the worst condition, steady-state criterion.
- Margin: junction with margin to the limit, confirmed on the prototype.
Common Mistakes in the Review.
Two mistakes appear in most first reviews: reading the typical forward drop instead of the maximum at the working temperature, and measuring the case temperature without the soak criterion, which understates the rise. A third is treating the datasheet junction-to-case figure as the total resistance to ambient, which ignores the board and the enclosure terms. The review’s five checks exist to catch exactly those three, and the record states the numbers the calculation actually used.
The 200 V, 30 A Working Example.
A worked example makes the method concrete. At 15 A per die with a 0.84 V typical drop at the working temperature, each die dissipates about 12.6 W as a first estimate; with a 2.0 °C/W junction-to-case resistance and a well-built board, the junction-to-case rise is about 25 °C, and the board and the enclosure add their own terms. The estimate is the first pass, not the answer: the maximum VF at the hot junction, the leakage at the working reverse voltage, and the measured case temperature replace the starting values, and the loop runs until the numbers agree. The AMBRB30200CT’s datasheet is the source of the published values, and the example is the method’s illustration, not a substitute for the board measurement.
The Enclosure’s Role in the Budget.
The enclosure closes the thermal loop: the board’s heat must reach the housing, through the standoff, the airflow, or a thermal interface, and the enclosure’s temperature rise is part of the margin. A sealed enclosure holds the heat and raises the ambient the board sees; a ventilated or heat-sinked housing lowers it. The design review names the enclosure’s role in the budget, and the measurement is taken with the enclosure in its final configuration, because the part’s junction is set by the system’s total route, not by the board alone.
The Board Stack’s Starting Points.
A typical starting board for this class uses a 2 oz copper outer layer, a pad extending beyond the tab, and a via grid inside the pad into the ground plane; the values are confirmed against the stack, the assembly rules, and the thermal measurement. The stack’s layer count and the plane’s connection are part of the budget, and the review reads them with the copper and the vias rather than assuming them.
Engineering note. The loss budget and the measurement follow the thermal design method; the AMBRB30200CT parameters are datasheet-published, and the copper and via values are recommended starting points confirmed against the board stack.
The Verification Loop on the Board.
The first board run closes the loop the paper calculation opened: the case temperature is measured at the rated load and ambient, the calculated junction is compared with the limit, and the margin is read. If the margin closes, the copper and via design is confirmed; if it does not, the review moves down the chain—more copper, a denser via grid, a better interface—and the measurement repeats. The loop is the D2PAK’s design method, and it is why the 200 V, 30 A class is a board design as much as a part selection.
Frequently Asked Questions
Why is the D2PAK a thermal design first?
Because the 30 A class dissipates tens of watts, and the board copper and vias are the heatsink—the thermal chain decides the real capability.
What does the board provide?
A copper pad matching the tab, a via grid into the inner planes, and a controlled solder joint—the heat-flow route’s board half.
What is the loss at 30 A?
About 12.6 W per die at 15 A with the typical drop, about 25 °C of rise with the 2.0 °C/W path, as a first pass—the final budget uses the hot maximum and the leakage.
How is the case temperature measured?
With a thermocouple on the pad or the nearest copper, at the worst load and ambient, soaked to the steady-state criterion.
What is the review order?
Loss, chain, board, measurement, and margin—the five checks that close the thermal design.
Conclusion
The D2PAK’s 200 V, 30 A class is a thermal contract: the loss at the hot condition, the copper and via path, and the case-temperature measurement decide the real capability. Design the board, measure the result, and the part performs to its data.
Review the Schottky rectifier diodes category on the Good-Ark site, and contact Good-Ark with your board stack and thermal budget for a D2PAK thermal review.
Sources
- Good-Ark — AMBRB30200CT Product Page
- Good-Ark — AMBRB30200CT Datasheet (PDF)
- Good-Ark — Schottky Rectifier Diodes
- Good-Ark — Contact
Continue through this engineering topic
For the complete selection, design, verification, and troubleshooting path, explore the Rectifier Packages and Circuit Design.
- Practical guide: Rectifier Thermal Design Guide: From Rth to Junction Temperature
- Practical guide: QFN vs DFN Packages: Thermal, Electrical, and Assembly Trade-Offs
- Practical guide: TO-220 Fast Recovery Diode: Reliable High-Speed Switching for Power Electronics
- Ask Good-Ark technical support about this application
Recommended
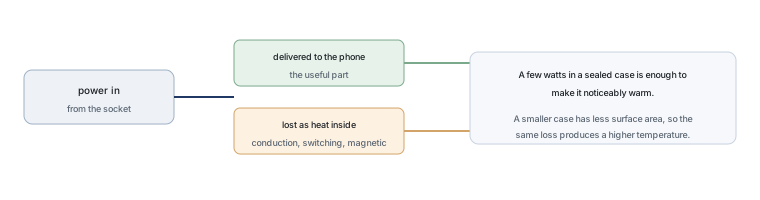 Why Does Your Phone Charger Get Warm?Knowledge
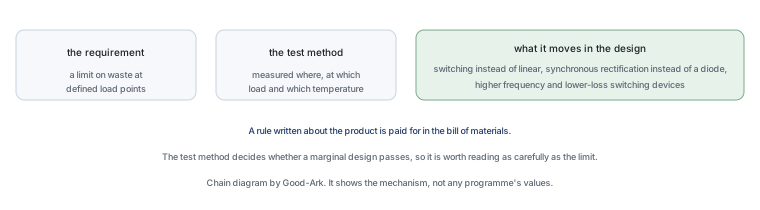 Energy Efficiency Rules Worldwide: How Regulations Shape Component ChoicesKnowledge
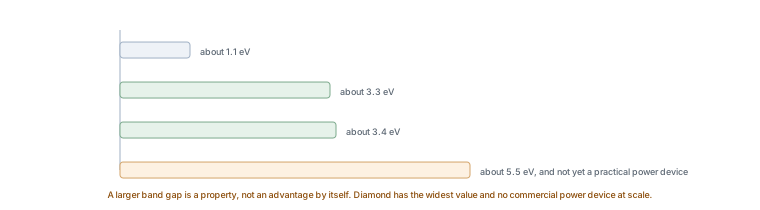 Wide-Bandgap Semiconductors: Adoption Report 2026Knowledge
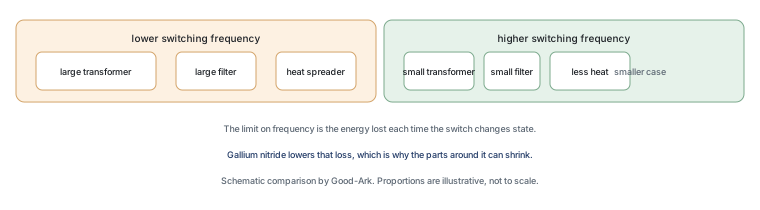 The GaN Charger Market: Why Your Next Adapter Is SmallerKnowledge
 Component Lead Times in 2026: What Is Actually Normal NowKnowledge
 China’s Power Semiconductor Industry: Where It Stands in 2026Knowledge